https://slickshares.com/tree?u=rm

Sunday 19 April 2020

Leaky Rotten Window Frame Repair


Disclosure: This post contains some affiliate links to products that I use and love. If you click through and make a purchase, I’ll earn a commission, at no additional cost to you. 
Leaky Rotten Window Frame!
When water is an unwanted guest


One of my clients had waterproofing issues. Whenever it rained water would seep in somewhere round the window. This resulted in the wooden window frame becoming rotten. When water is an unwanted guest it damages structurally, aesthetically and leaves bad smells.
In this months blog I will talk about how I repaired the window and highlight carpentry and glazing points. 
Restoration of rotten.
When I inspected the window the first time I thought, " change entire window to aluminum." 
I started the feel the fears. Big job, will I measure properly? Will the window to be sealed properly? Will I, will I, will I? I went home nervous. 
I returned the following week.  Climbed up to have a closer look, still anxious, and as I scratched and measured my anxiety and fear began to dissipate. I began noticed that it was only the bottom the sill that was damaged. The wood was so damaged, rotten thant the glass sunk into the wood allowing water to seep in at the top of the window.
I proceeded to measure up what I need and make a shopping list.

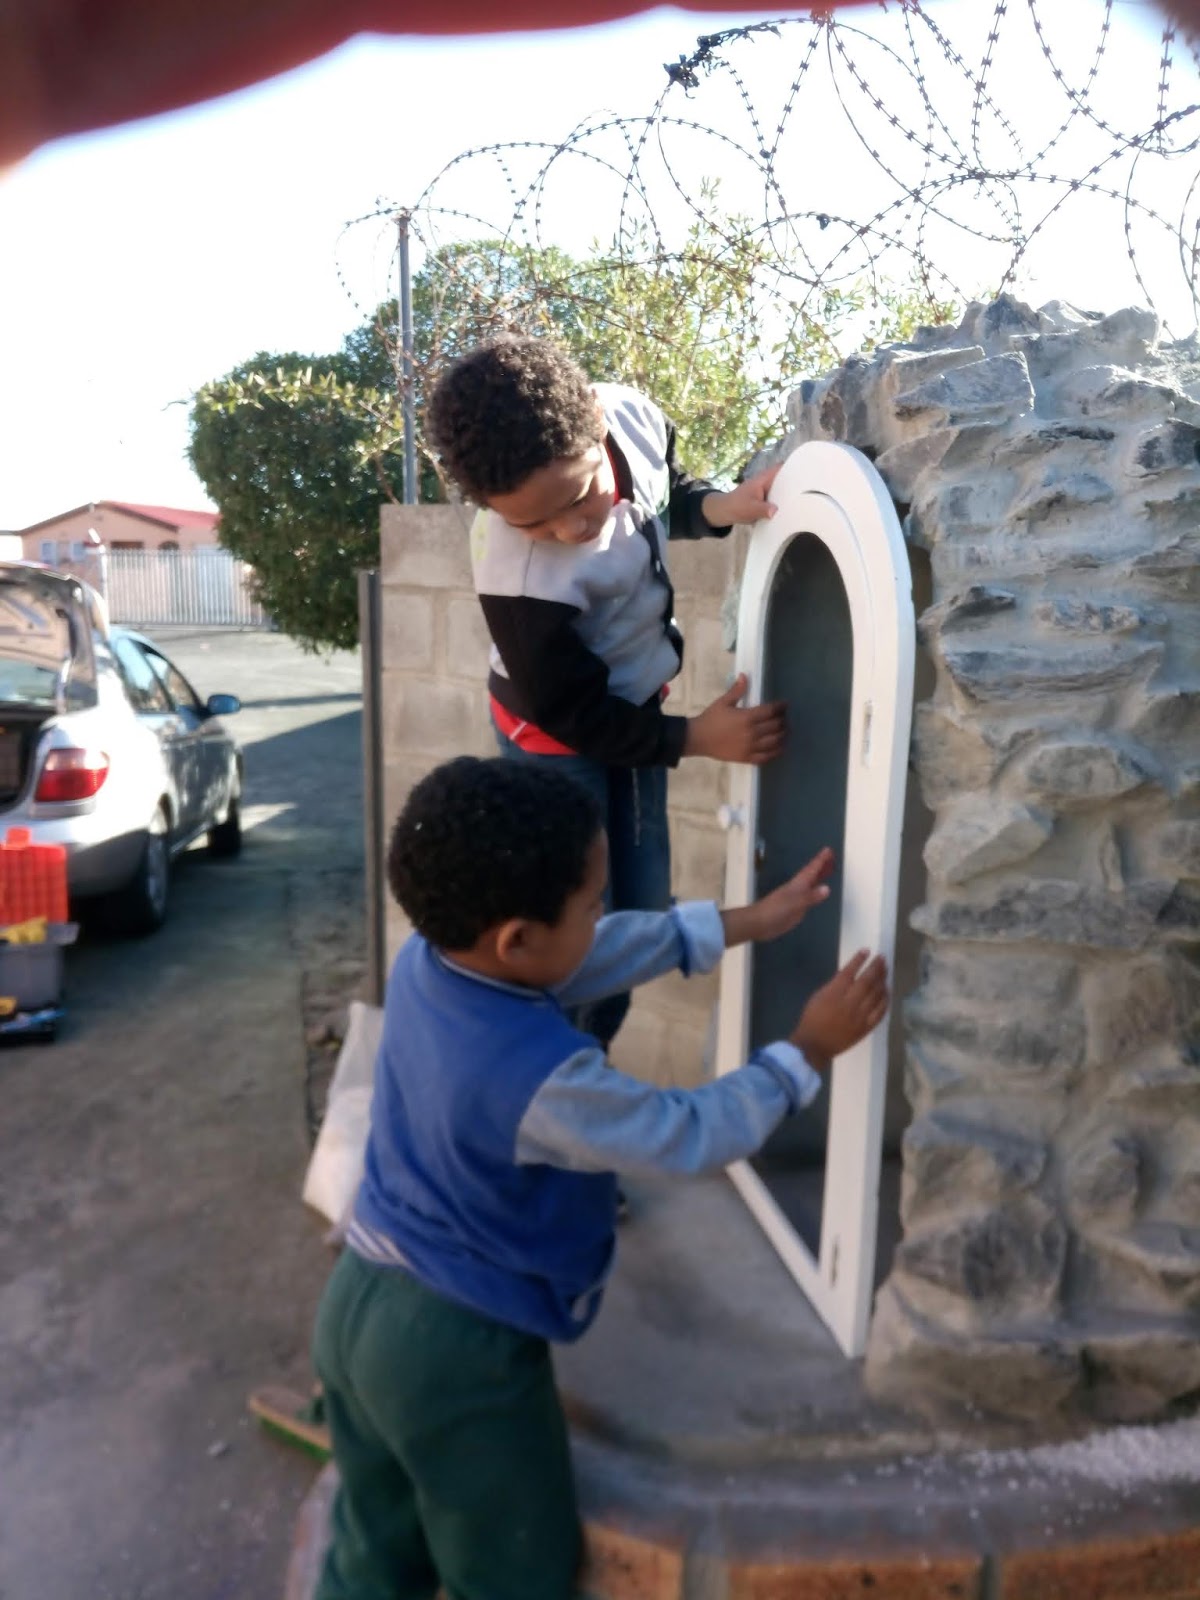
Once I had everything I needed, wood, window putty, panel pins, nail-in anchors, screws, foam seal tape, and paint it was time to start demolition. The breaking out of the damaged wood was relatively easy as the wood was badly rotten, soft, spongy. Added to that the joint were basic butt joints so the will pulled out easily.  The mullions had also started to rot at the bottoms. The shortest one I removed and the long ones up cutting away the rot. 


 The brickwork and plaster were still in perfect condition which meant I could fix the frame by drilling into the brickwork and fixing with my nail-in anchors. Meanwhile I had treated the new wooden lengths with wood primer. They were now ready to be fitted into their new positions. I ran a strip of foam seal along the underside of the new will. Now I slide it in under the mullions, fix with waterproof wood glue and then long screws through the side of the will up into the mullion.  Close the screw heads with wood filla. 


Next I review the beading. Rotten? Throw away and salvage what I can. Sand them down, nice and clean. Refit beading internal first.  It took a while, cutting mitres is a story, got to get the joins tight. No gaps.  
Now I apply one coat of external paint. I like plascon wall and all.
Stand back....looking good!!!
While the paint drys and I admire my carpentry skills, I work a lump of window putty in my hands. I press it, squeeze it, knead it, roll it into a Ball and catch myself making figures and faces with the putty. Stop that!
Start thumbing putty onto the inter beading all the way round then fit glass. Gently press the pane till the putty is pressed up against the glass uniformly. Top beading first, tap, tap, tap my panel pins then bottom and sides. Between the glass and the external beading I squeeze in more putty. 

I did this for all the window panes. Then I went around with the white paint adding final coat of paint.
I thoroughly enjoyed this job.
Specially when the client smiled and breathed a sigh of relief. No more water damage and it looks like new.
Before I close off a few points to remember.

  • Try to keep joint as close and tight as possible.
  • Work window putty till its soft. If its hard, a bit of turps or linseed oil can be added to soften.
  • Roll putty into sausages and press into frame first, then fit pane.
  • When measuring for the glass pane remember the glass should be smaller than the frame. Subtract about 5mm off your total. This will give 2.5mm gap.
  • Allow window putty to dry hard first before you paint.

Friday 13 March 2020

My First Grotto.


Disclosure: This post contains some affiliate links to products that I use and love. If you click through and make a purchase, I’ll earn a commission, at no additional cost to you. 


So I start with the foundation.  Clear out the space, mix up the concrete. For this I used the ready mix bags from builder's warehouse. Mix, cast, leave to set.  The following day I used up the left over blocks from a previous project to build up the base. This is the load barring part of the structure.  I  proceed to fill cavities and gaps with cement.
Now this needs to dry and set so that it can be filled with rubble and compacted. Then I close the top with dry cement....topping.

Find Your Right Floor & Save 10% on All Styles – coupon code: FRIEND10 12 Month Financing


Now the base is done, it time for the actual arch.  I need a form to build on.  Shutter ply and hard board/Masonite. To get this right I measured the statue, head to toe and finger tip to finger tip and then added about 10 - 15 mm right around.  Fortunately for me I was  building up against an existing wall so there was no need to do anything around the back of the grotto.  After positioning the form into place it was time to start the stone work.


I started by sorting the stone, gabion stone I used. They are hard. I kept all the small to medium sizes together. Mixed up the cement and started placing stone upon stone. Fitting, removing and refitting the stones like a puzzle. I kept my mortar on the wetter side so that its more sticky than dry. It took a while. After I had completed the dome I proceeded to clean the stone and fill any gaps.
I was tempted to pull the form out to see how the grotto would look.  With the stone work still wet, I decided to leave it just as is.


"It might collapse" I thought. Step away, step away.
I returned a week later to remove the wooden form. While praying, I gently cut and tapped at the wood until it came out. I sighed and smiled with relief. The grotto didn't collapse or fall.


Now once everything was dry I could clean up and finish. I used a wire brush to clean away the dry chunks of cement and cement dust.  Then I plastered the inner wall.  Around the base I layer facebrick. Pretty straight forward. Between blocks and facebrick I chalked a strong cement mix. This is to act as a glue. Thinking back I probably should have used pins/pegs to tie the two together.


This was an awesome experience a lot of fun and lots of hard work. I got my sons in to help me fit a little door.


Thursday 23 January 2020

Block Bench


 Disclosure: This post contains some affiliate links to products that I use and love. If you click through and make a purchase, I’ll earn a commission, at no additional cost to you. 


So my cousin came to me and asked "Ricky, can you build a bench with bricks, cement an stuff?". I glanced at her from the corner of my eye and giggled "yes".  She went on to explain that the people she was renting from wanted a bench next to their pool.
Later that week I went round to have a look and to here what the client wanted. The mother and her two daughters handed me a picture downloaded from the net and ask " can you make it?" I said nothing and took the page.
They lead me out the door to the back, the pool area, to show me the space.


 Picture to the left is what I found. The client told me that they got a guy in who claimed to be a bricklayer and he said he could recreate the bench on the page.  They where mortified by the result.
I'm standing there smiling thinking "Damn, this guy is gonna make me look SO good".
I proceeded to break the existing structure with my hammer and chisel. Cleared the space out. I use a straight edge and spirit level to level out the ground.
I marked out a curve in the sand and packed out the blocks to create a visual. Then I called the girls, and granny, to come look. Granny took one look and said "it too big, make it a bit smaller". I did. Then called them out again. They where happy with the size. Lucky their gardener was on hand to help bring closer the sand, stone and cement. Together we mixed up a gauge of concrete. We cast the concrete foundation. Then let it set over night.
Next day started with the block work. Block by block. Brought the bench up. The seat I left hollow. The seat I filled with rubble and sand. Compacted that.


I layed a row of blocks on their side as seen in the pick to the left. Good bum to seat ratio.


I started to plaster the structure up. I'm not the best with a plaster trowel and hand hawk but the job came out Beautiful.

I went ahead with the levelling of the area in front of the chill area. Layed the pavers that were there and spread the stone about. The painting was done by the family themselves. They did an excellent job.