Disclosure: This post contains some affiliate links to products that I use and love. If you click through and make a purchase, I’ll earn a commission, at no additional cost to you
Tantalizing Tiling
Simple Tiling Additions that Make a Huge difference
The back splash!
That small bit of real estate between the sink and the window sill that runs along the kitchen wall and includes the stove area. This simple bit of tiling drastically improves the kitchen and adds that X-factor, that feeling of "finished" to the kitchen.
Today in this blog I will be talking about tiling, the materials, tools and techniques. Tiling isn't difficult but if not done properly and without a little planning, the finished product will come out looking untidy and amature.
So you have a room or space you want to spruce up. Where do you start?
Your local hardware, flooring specialist or tiling store is where you start. Shop around, ask for samples. You are doing one of two things, complementing existing furniture or contrasting existing furniture. Place your samples on the areas you wish to tile, stand back and view. Now how do you feel? Is the tile, as it lays in its place, making you feel the way you want it to make you feel? Do you feel happy when you look at the tile next to the rest of the furniture?
There are many blogs and articles on choosing tiles. In the end, does it look good to you. There are however some guidelines to follow. Light coloured larger tiles give the illusion of space. Using ceramic and porcelain tiles are easier to maintain than natural stone. Ceramic and porcelain only need a wet mop and you done! Glass tiles are beautiful but should be left for walls. Glass tile become slippery when wet and this is dangerous.
Now you have chosen the tile or tiles that make you happy. They either compliment and blend or they contrast and shock. Beautiful.
But how many tiles will you need?
To calculate the square meterage you need the length and breadth of you area. L x B = Area squared. Take that total to the tile supplier. On the box usually it tells you how much area a box covers.
If you are taking on the job yourself and it's your first time, take an extra box or two. These extra boxes are for spares and for you when you cut a tile incorrectly. Next on the shopping list, grout. What is grout? It's the stuff that gets squeezed between the tiles. Tile grout prevents water from seeping under the tile. It can create a seamless tile appearance when matched to the tile or create beautiful contrasting lines.
Adding to the list is tile adhesive. This is essentially the glue. There are many brands on the market. Speak to the salesman at the hardware store to help you buy the correct stuff. Remember expensive doesn't necessarily mean best.
Get spacers, these are plastic crosses. They vary in thickness. Depending on the size of your tile, will determine the spacer size. There are usually displays, have a look at them this will give you a good indication of what size to choose.
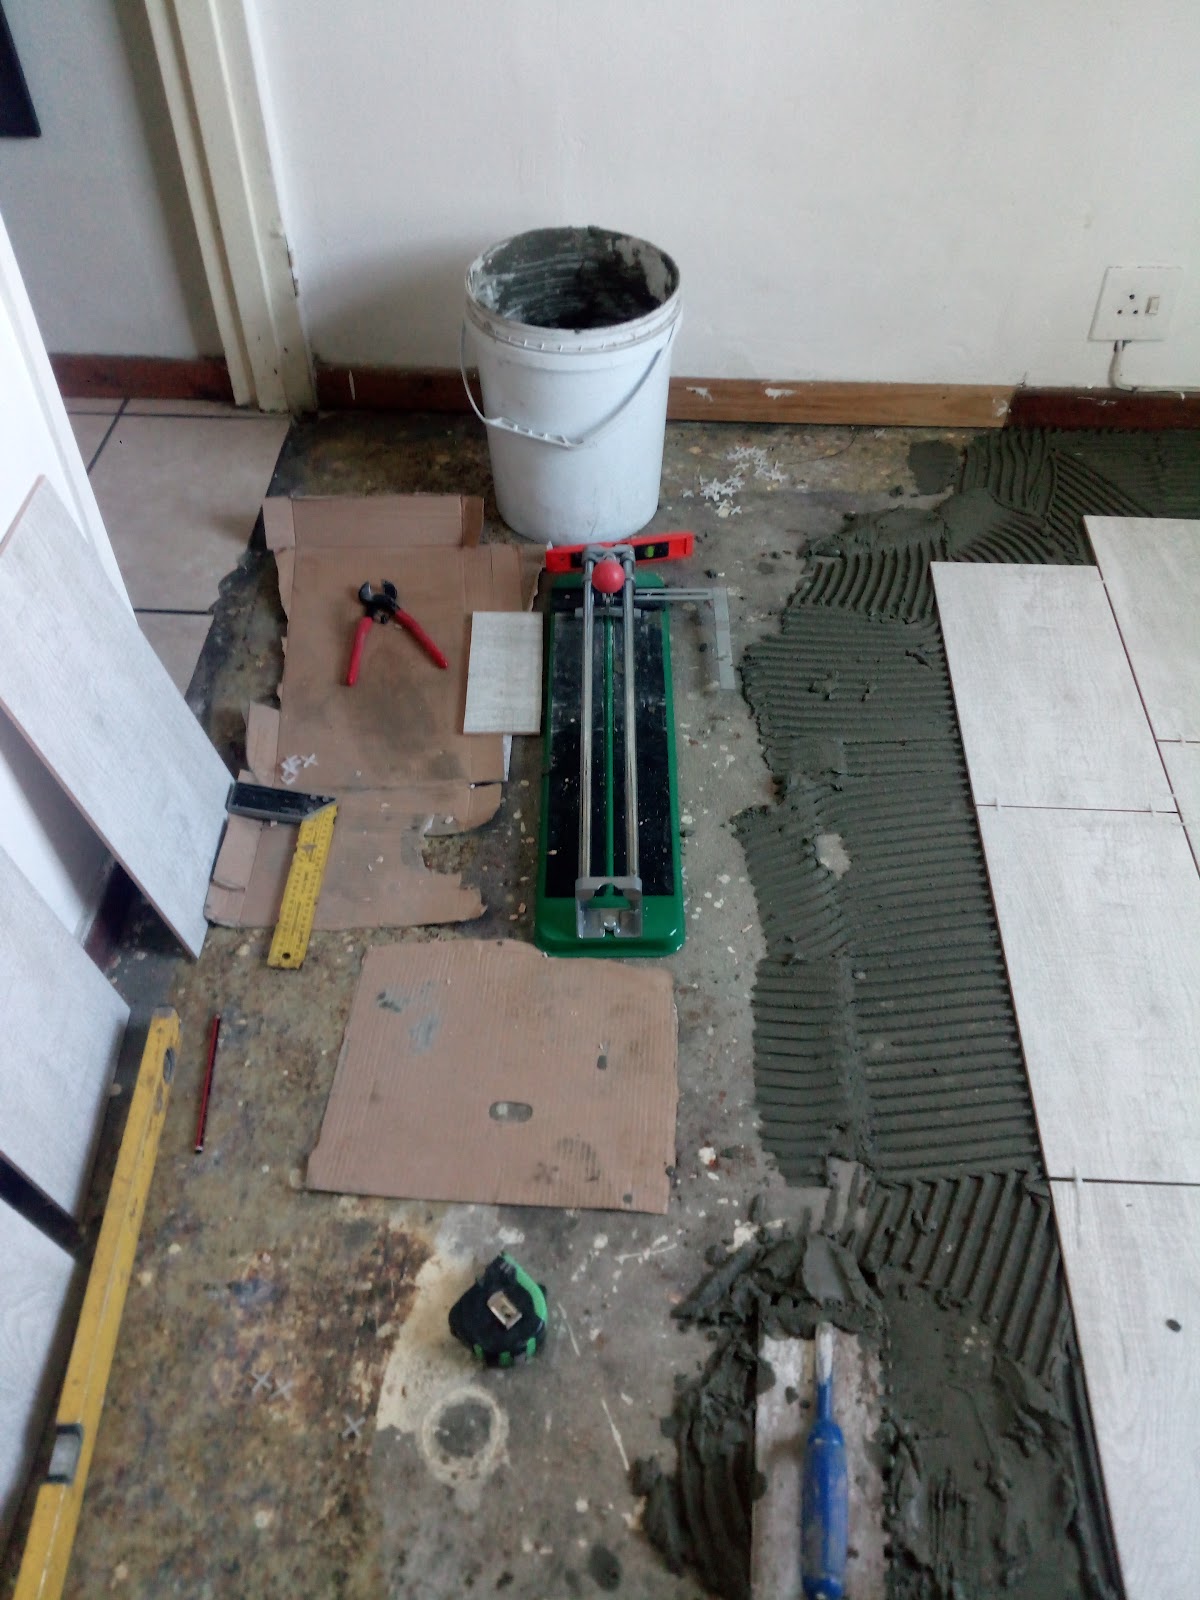
Tools. If someone is doing the tiling for you then at this point your job is done. however if you're gonna take it on yourself then continue down to the tools isle. First and most obvious is the tiling trowel or notched trowel. 10mmx10mm notches for floor and wall tiles. 3mm x 3mm notches for Mosaic tiles. Then gauging trowel to scoop the adhesive out your bucket. Tape measure, pencil or marker and you will most definitely need a tile cutter accompanied by a pair of nippers. If the tile doesn't break cleanly on the edge a pair of nippers, tile pliers, can be used to break off the jagged chips on the edge. Some rough grip sandpaper to sand the edge smooth. 100 grit, 80 grit should be fine. Spirit Level to level your tiles.
Since you're a beginner, the space you are tiling is small. Splash back, a small room, small wall space etc. Plan your space, if its floor, divide your room into 4 parts.A cross. Starting in the middle working your way to the walls. This will ensure cuttings at the skirting.
Alternatively, from the door lay full tile using wall as ruler. This way you will see full tiles as you enter the room and cutting out of the eye sight. I personally like this method, working from the threshold of the door. Work one line of tiles then turn at the end and work one line across. Its a big L shape.
No adhesive yet, you planning your floor out first like a mock exam.
Laying your tiles out first is a good idea if you chose tiles with wood grain print. Match up the grain to flow.
Now for the real thing. Move your tiles one side, scoop tile adhesive with gauging trowel and dollop on the floor.
Dollop, dollop about 3-4 scoops, not too much keep it tidy.
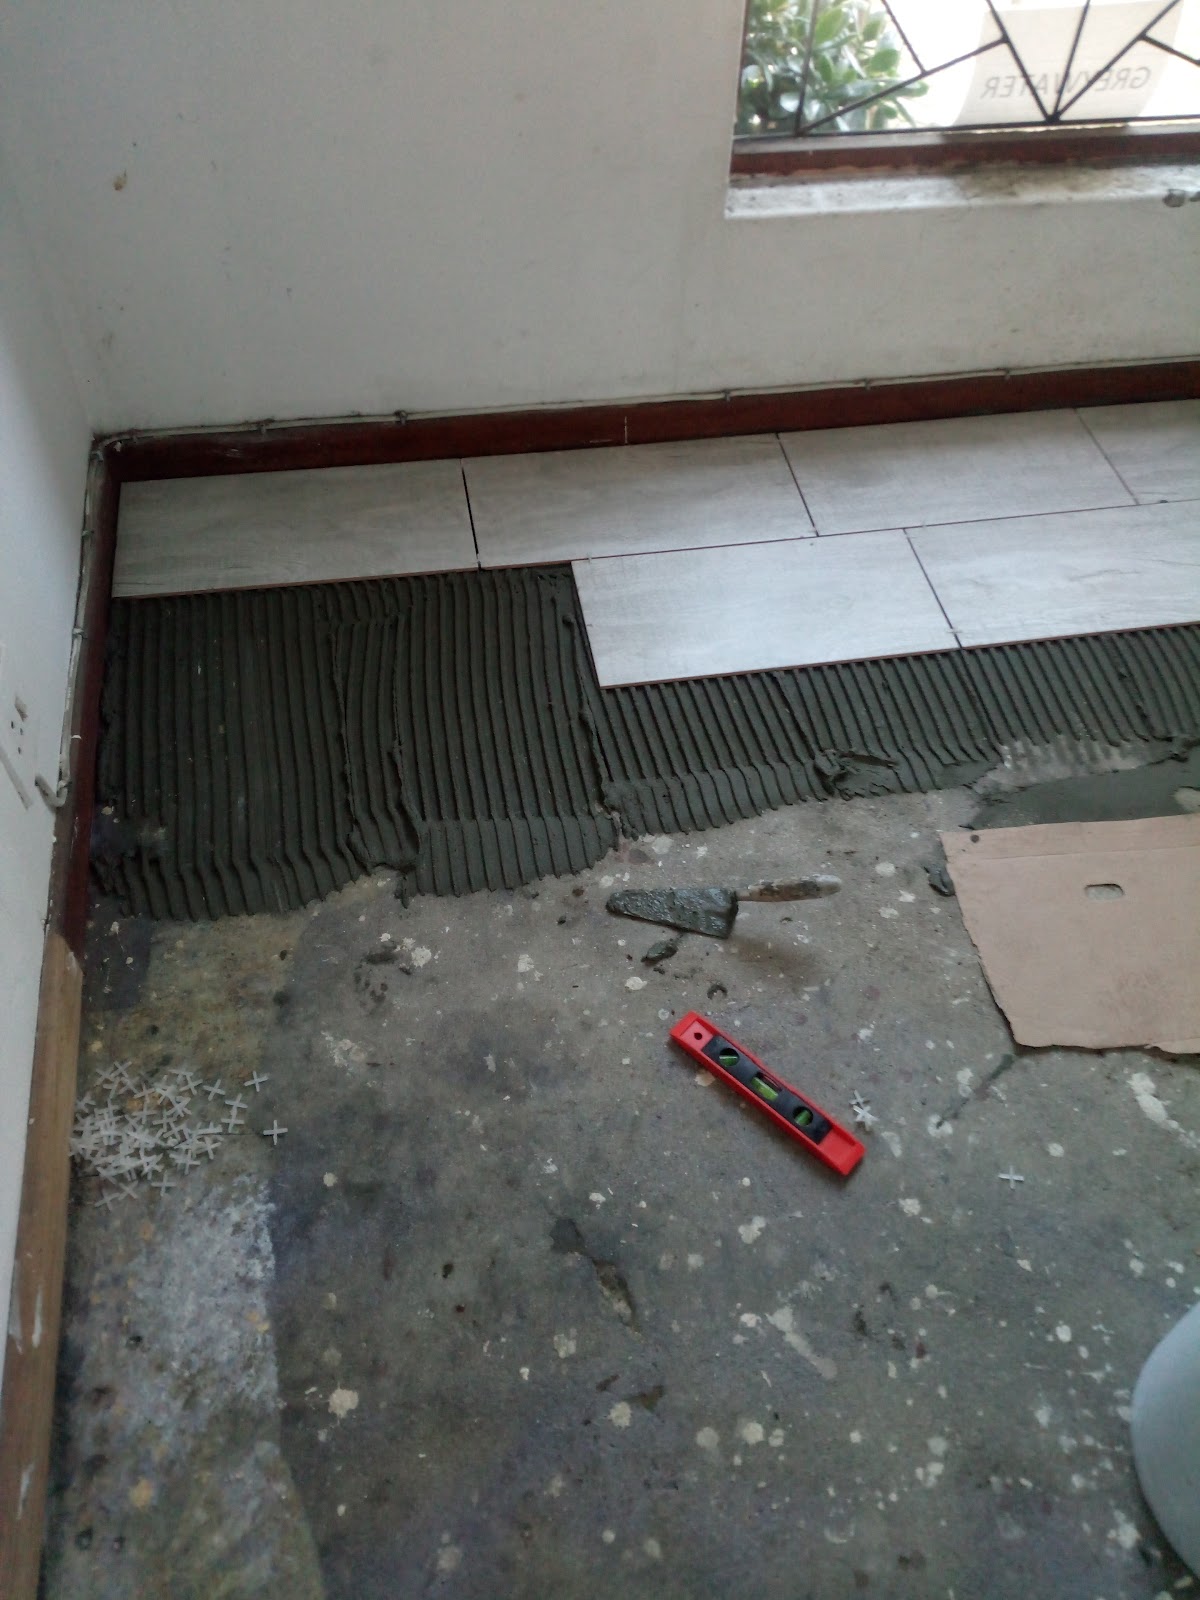
Now take your notched trowel and spread, making lines from one end to the other.
Place a tile onto adhesive and spirit level on tile, push down firmly leveling tile at the same time.
Sometimes, in the case of a larger tile, you may have to use a Mallet . Don't hit hard the tile may break. Tap lightly.
Next tile same thing, line up edges and corners. use plastic spacers between tiles to get and keep symmetry.
And you're tiling!
Once you get to the walls you'll need to cut. Measure from tile to wall and subtract spacer thickness. Match tile edge to tile edge and cut side against skiting or wall. If against the wall then the skirting goes on top and covers uneven cuttings. If the skirting is already in place then a quarter round molding can be placed over cut edge. ok that was floor tiling.
With wall tiling it will be similar with the wall being your floor and the counter top or skirting being your walls.


