Disclosure: This post contains some affiliate links to products that I use and love. If you click through and make a purchase, I’ll earn a commission, at no additional cost to you.

What happened in the movies is happening in real life. A virus got loose and is leaving death and destruction in its wake, except, lucky for us no one turned into zombies.
However as you know Covid-19 continues to turn our lives upside down any have lost their livelihoods, lives and loved ones to this disease. Covid-19. As you know many countries went into national lockdowns. You remember, we couldn't leave our homes only for emergencies and to top up on our groceries.
This event made me realize that my family and I, and I'm sure many others were not prepared for this situation at all.
"We need to be ready for next time", I thought to myself.
Veggies and meat.
Farming!
Farming on a small scale, very small scale. Small game, small planting vessels.
Veggies and meat. Veggies I'll discuss in another blog.
For now, The Meat.
The meat, the live stock, obviously no cows, sheep, goats or pigs especially for those of us in residential, urban areas. Its got to be small and manageable preferably quiet, for the neighbors, so that's Rabbits, chickens( noisy), pigeons... Rats?
I chose chickens. Chickens need to be housed, well, any animal you decide on will need residence.
I built a foul run and that's what this blog is about today.
 |
Shutter ply Sheets, a brick pallet and old lockers.
I started with the old lockers I got gifted, second hand. My plan was to use the lockers as nesting boxes. They are the perfect size and they have doors, all I needed to do was cut entrance holes for the birds to enter through.
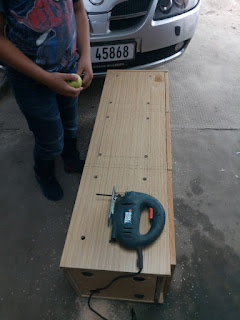 |
| Measure and mark |
 |
| Cut out |
Right! So once the holes where cut we placed the nest boxes on the pallet. I was super lucky because the length of the lockers fitted perfectly on the pallet. It was actually smaller by about 10mm which was actually great, it gave me 5mm play on either side.
 |
| fix boxes |
 |
| painted nest boxes with handles moved |
So I acquired two sheets of shutter ply, second hand. Since the pallet was to be the floor it dictated the size of the coup, so naturally I cut the shutter ply to size, remembering to minus the thickness of the board at two ends so that it would not end up bigger than the pallet when being assembled. (phew that was a mouth full). As seen in the pictures above three boards to make the walls. I nailed the boards to each other and to the pallet. The nest boxes I screwed into place, through the coups walls and to the floor. After painting the nest boxes I moved the handles to make it easier to open. Now with the fourth board, I used as a door for maintenance. I measured the space between the top of the box to the top of the wall and cut. I had some old door hinges that I used. As can be seen in the pic below.
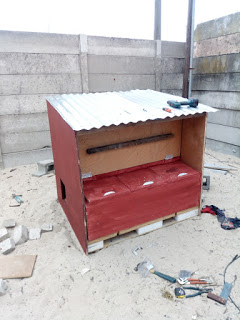 |
| The Beam across the door is to prevent the handles getting damaged. |
.
Once again lady luck was on my side, I had just replaced a roof sheet on my house so I used that to roof my fowl run. Three meter roof sheet cut in half covered the coup perfectly. Incredible! I went around with a tube of left over silicone and plugged up all the holes and over the nails.
Side note before fixing one side I cut a little door into the sheet. Chicken size.

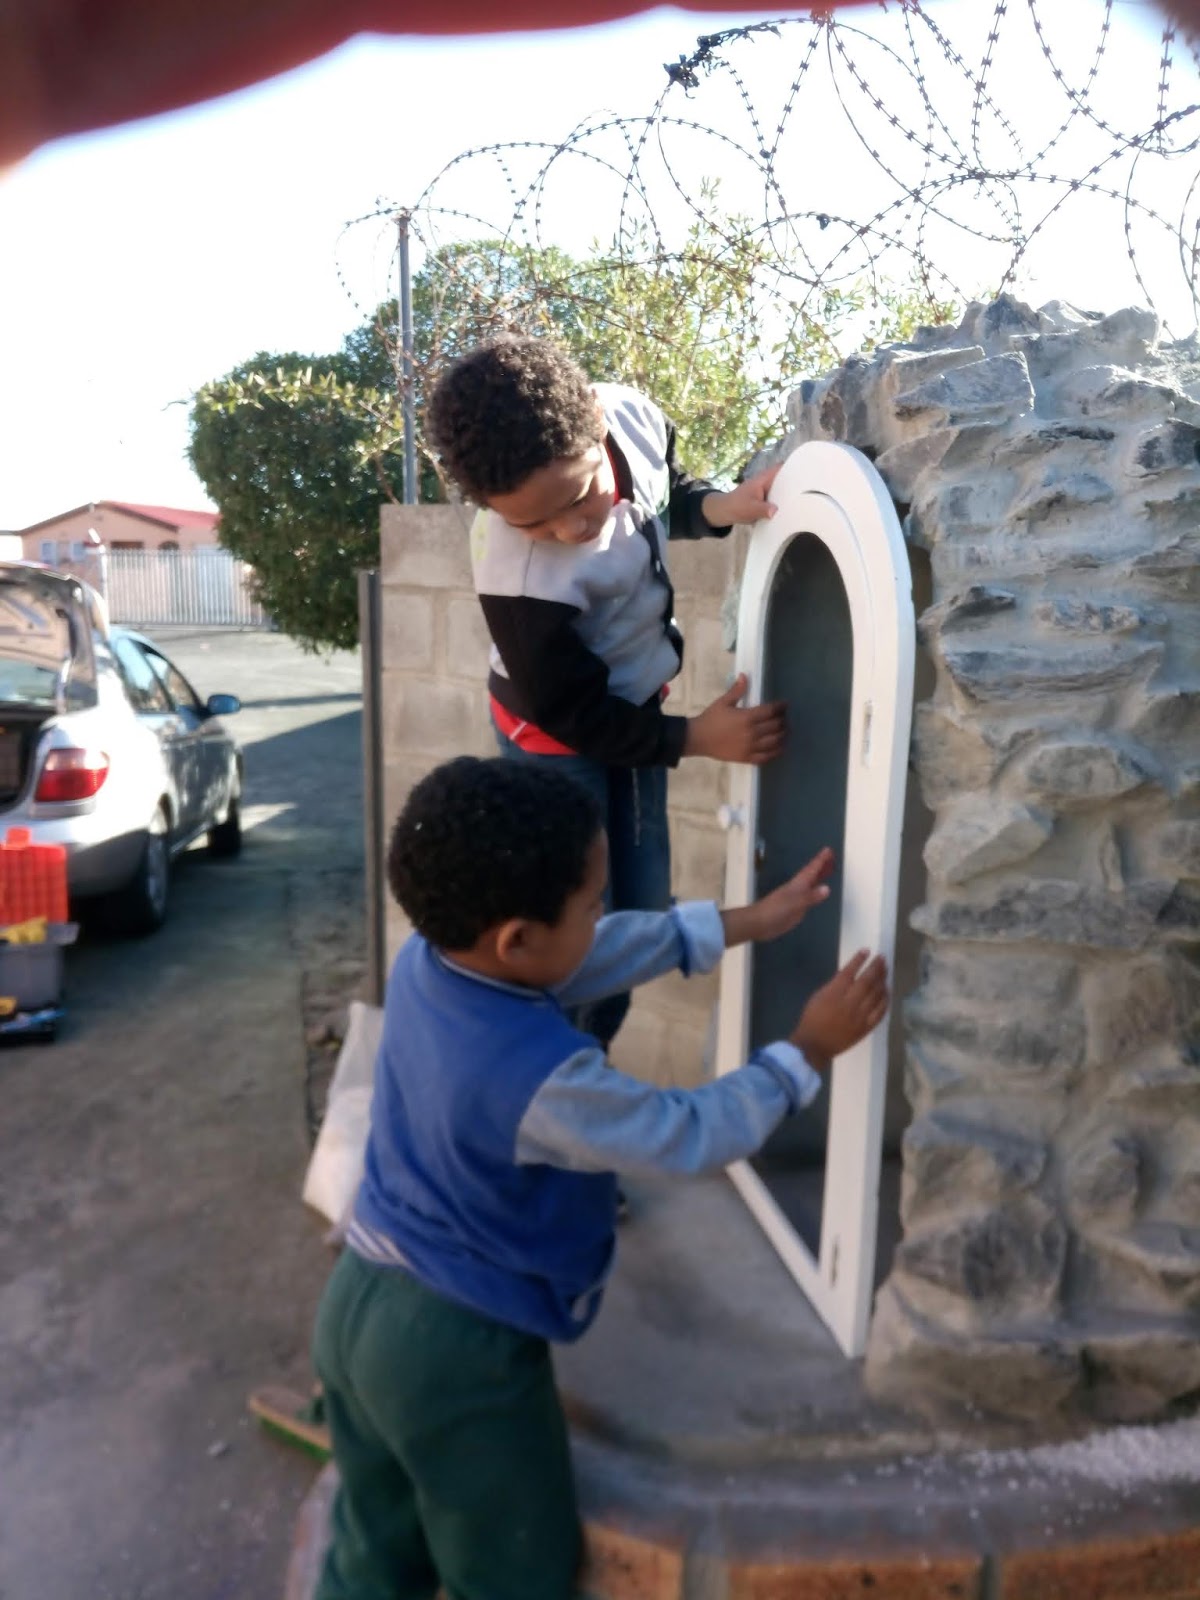
I just needed a coat of paint, protection from the weather. For that I got my team in. They did a great job. We used plain old waterproof paint. Left overs.

The fowl ran could not be completely finished as I ran out of material. So this is going to have to be part one and will have to be continued. But so far it looks great and the boys also have a "doll house" to play in, they call it their tuck shop.

Then we got to look as getting these guys to move into their need home. Because they are free ranging it at the moment and making a lot of noise.

Thank you for reading and stay tuned for part two when we extend the run.
Like, Follow, comment and share.


